DIY Patterned Photo Mat Using Wallpaper
SHARE THIS POST OR PIN IT FOR LATER!
*This post may contain affiliate links. Thank you for supporting my small business…at no extra cost to yourself!
Did you know there's something at the thrift store that you're probably overlooking?? When you're scanning the shelves, filled with secondhand treasure, don't sleep on the random rolls of WALLPAPER. While you'll sometimes find enough rolls to actually wallpaper a wall, it's often just a one-off roll, that wouldn't quite cover much. While you might not get a dream accent wall from thrift store wallpaper, it's worth grabbing if you find a pattern that you love. You can use it for lots of smaller projects, including making DIY custom photo mats!


Before we moved into our current home, I was at Goodwill and hit the absolute motherload of vintage York Wallcoverings wallpaper. I had been wanting a floral wallpaper to use somewhere in our new home (we'd started the purchasing process) and shockingly found seven rolls of exactly what I was looking for!! I had the WALLPAPER installed shortly after we moved in and still love it six years later. I sold the extra full rolls a couple of years ago, but have had some remnants left over just waiting for a project.
I tend to acquire wallpaper from the thrift store for different projects: papering smaller spaces, FRAMING IT AS ART, making gift tags, and now...creating custom patterned photo mats. Art and photo FRAMES are plentiful to buy secondhand and they often have mats...yay! Unfortunately, they tend to be scuffed and don't look the best. Also, if you're mixing and matching frames, the mats could be different colors as well. I'm in refresh mode in the new year, so I decided to finally try something out that I've been wanting to. I just knew the wallpaper remnants I had left from my thrifted rolls would be perfect to make some thrifted photo mats into something new and more interesting.


This project is very easy and doesn't require a lot of tools. You'll need a photo frames with mats, wallpaper, adhesive of some sort, scissors, and a razor blade. I chose to use GORILLA SPRAY ADHESIVE because it holds well and has wide coverage...plus, I had it on-hand and I'm trying to use whatever I have without buying new.
The frames I had in my stash didn't match in color, but they were similar in size and the mats matched pretty well. I, of course, had to pull out my trusty friend, RUB 'N BUFF. I am never without it in my DECORATING TOOLBOX. With a bit of Rub 'N Buff and a few minutes, both of my frames look like they belong together with their golden finishes.

The first thing you'll need to do is lay the photo mat onto the wallpaper and cut a piece to cover the frame. Then, spray the adhesive on the side of the photo mat you'll be covering. After that, lay the paper over the mat and smooth over the adhesive. If I were less impulsive than I am, I would have done this step ahead of time and then weighted the paper down for a while to totally cure with the adhesive. I'm sure I'll struggle with some bubbling and pulling at some point, so don't be me...take the time to do the job properly.


Once the paper is in place, you can trim excess around the edges. You don't have to do this perfectly, since it will be hidden under the lip of the frame when you put the mat back in. After you trim the edges, flip the mat over so the patterned side is down. You're then going to cut an "x" in the middle of the mat, creating flaps in the wallpaper. Spray adhesive on each of these flaps and press them down flat on the back of the mat. Again...take your time with this, so you'll be sure that the paper sticks well to the mat. I was impatient and didn't do this, so I could have issues later. Time will tell!


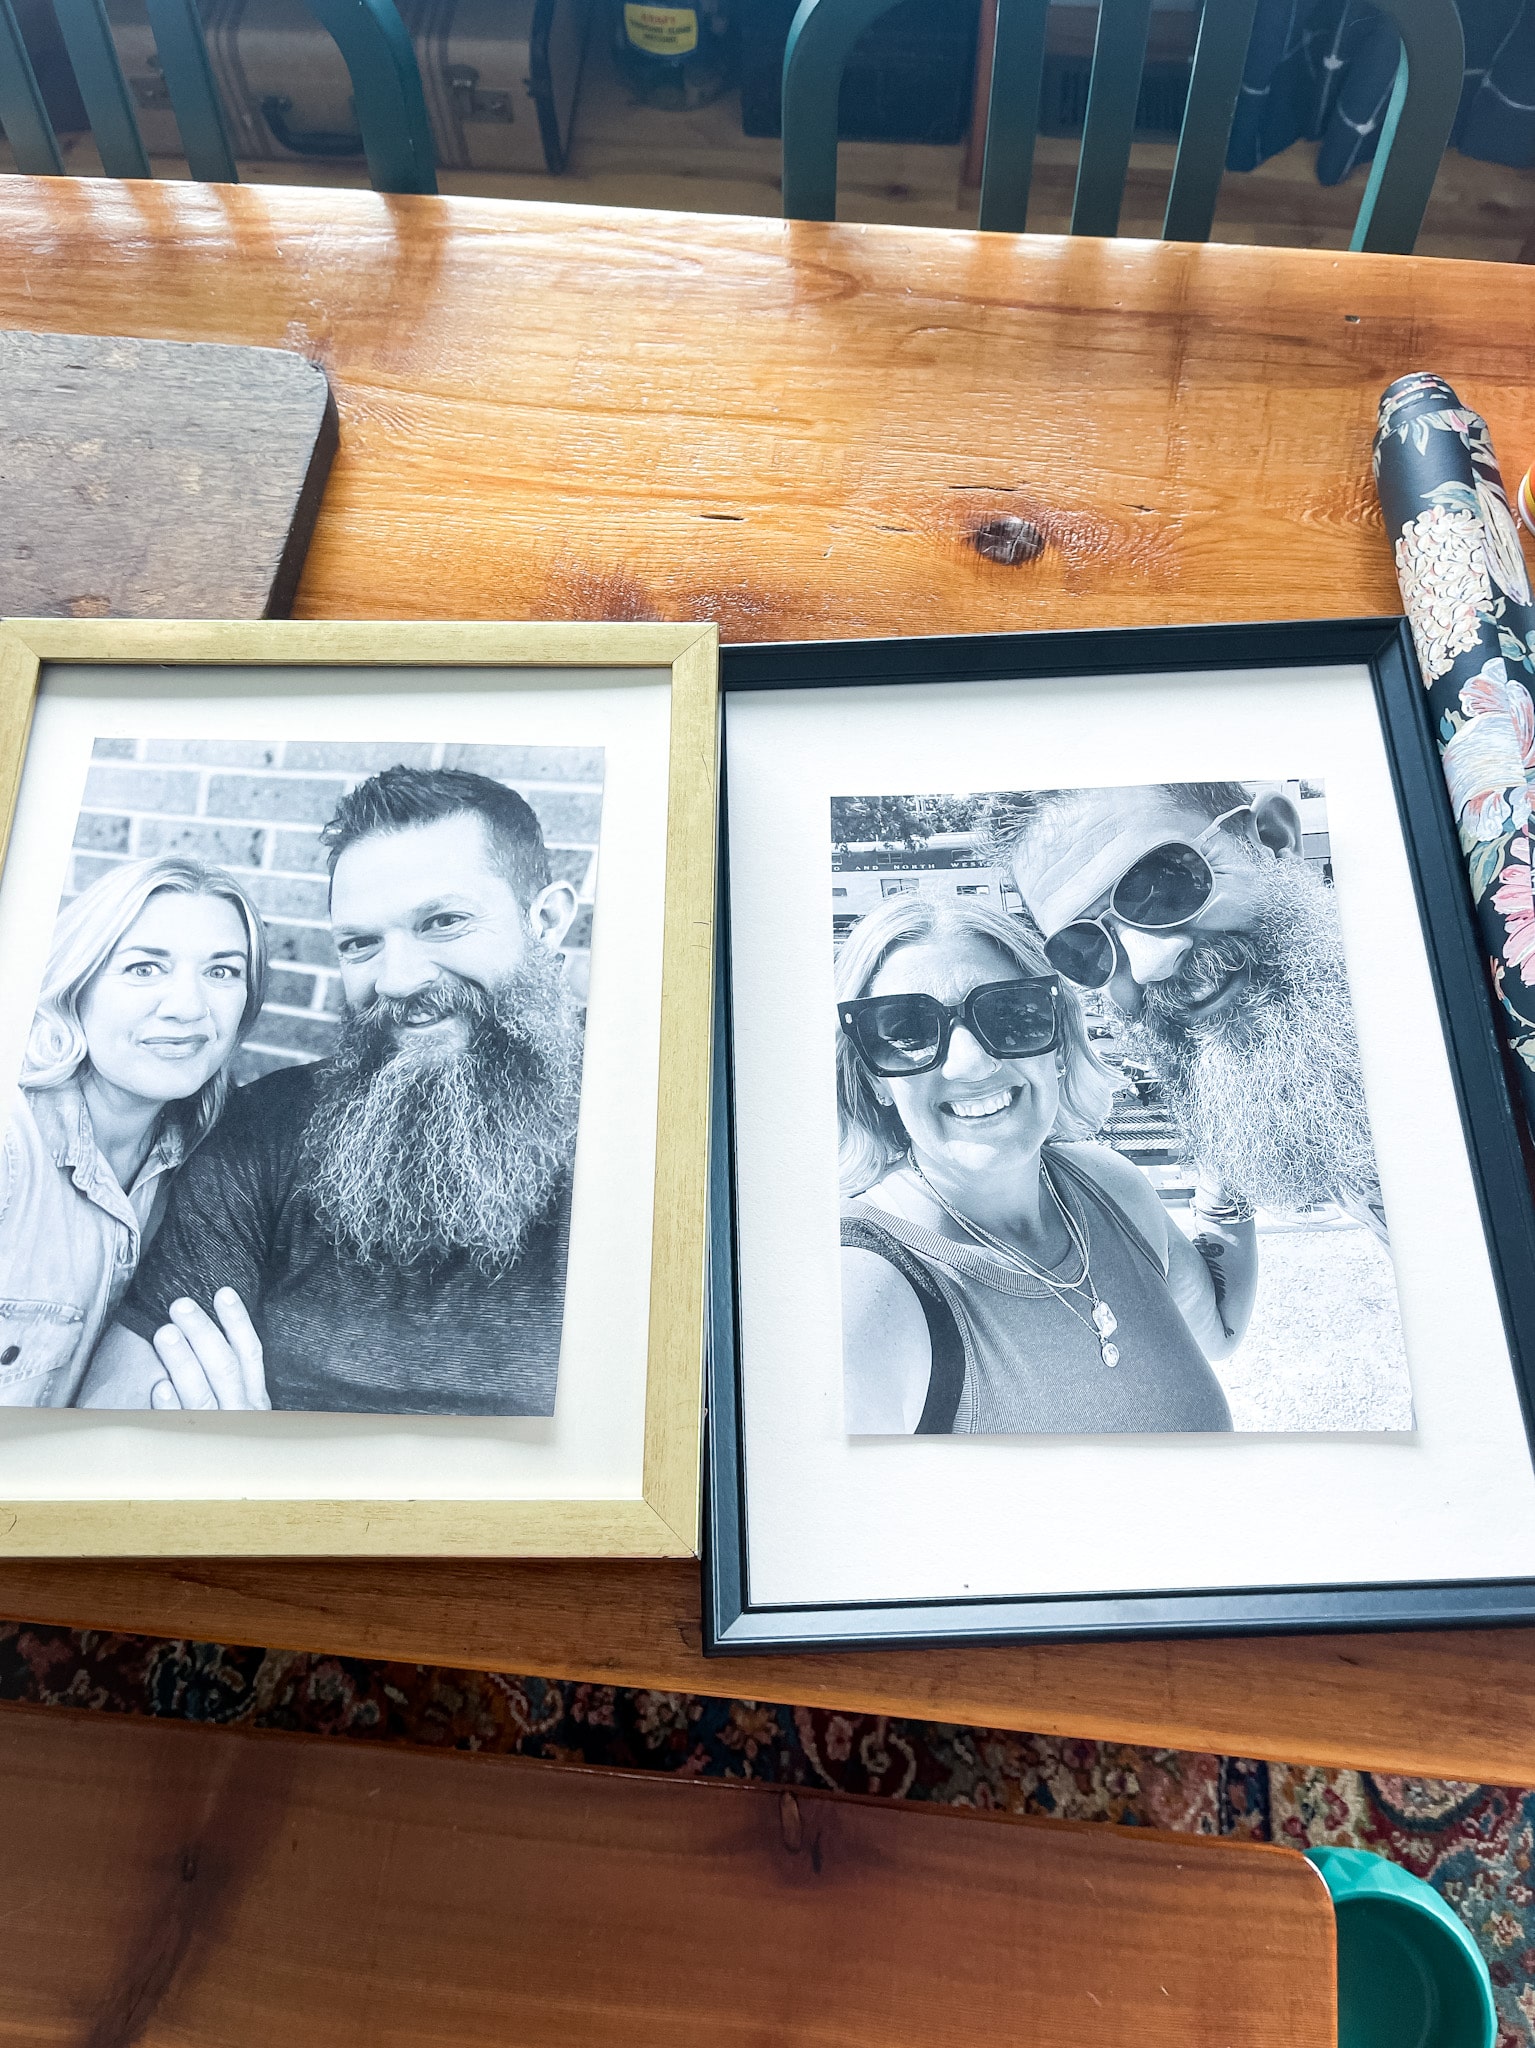
The other budget-friendly part of this project is printing your own pictures at home. I've bought photo paper for our printer before, but really don't think it's totally necessary...especially since I always print in black and white. Printing this way is so forgiving and makes even the least-quality photo look so much better...even on regular old printer paper. I scrolled through my phone's camera roll to find a couple images of Jason and me, realizing that all our pictures together are basically selfies. We need to change that!

All that's left to do is place the photos and put the backs of the frames on. I did use a little piece of tape to keep the photos in place, since there isn't glass on my frames, so there's nothing to put pressure on the mats and photos to prevent them from moving.

Watch the project come together live on HELLO IOWA!


There is so much possibility in this DIY PROJECT! I know that my particular wallpaper might not be for everyone, but I hope you're inspired to at least look at what's available at the thrift store. I know if you keep your eyes out, you'll see wallpaper (or contact paper even) at the thrift store or an estate sale that will be perfect for your next creative project.
I hope you've been inspired to think outside the box for your next DIY project. There is so much possibility to be had, especially when you can find supplies easily at the thrift store! If you decide to try making your own patterned photo mat, I hope you'll share it on Instagram and tag me @hilaryprall so I can see!

Products* to buy


