DIY Outdoor String Light Poles
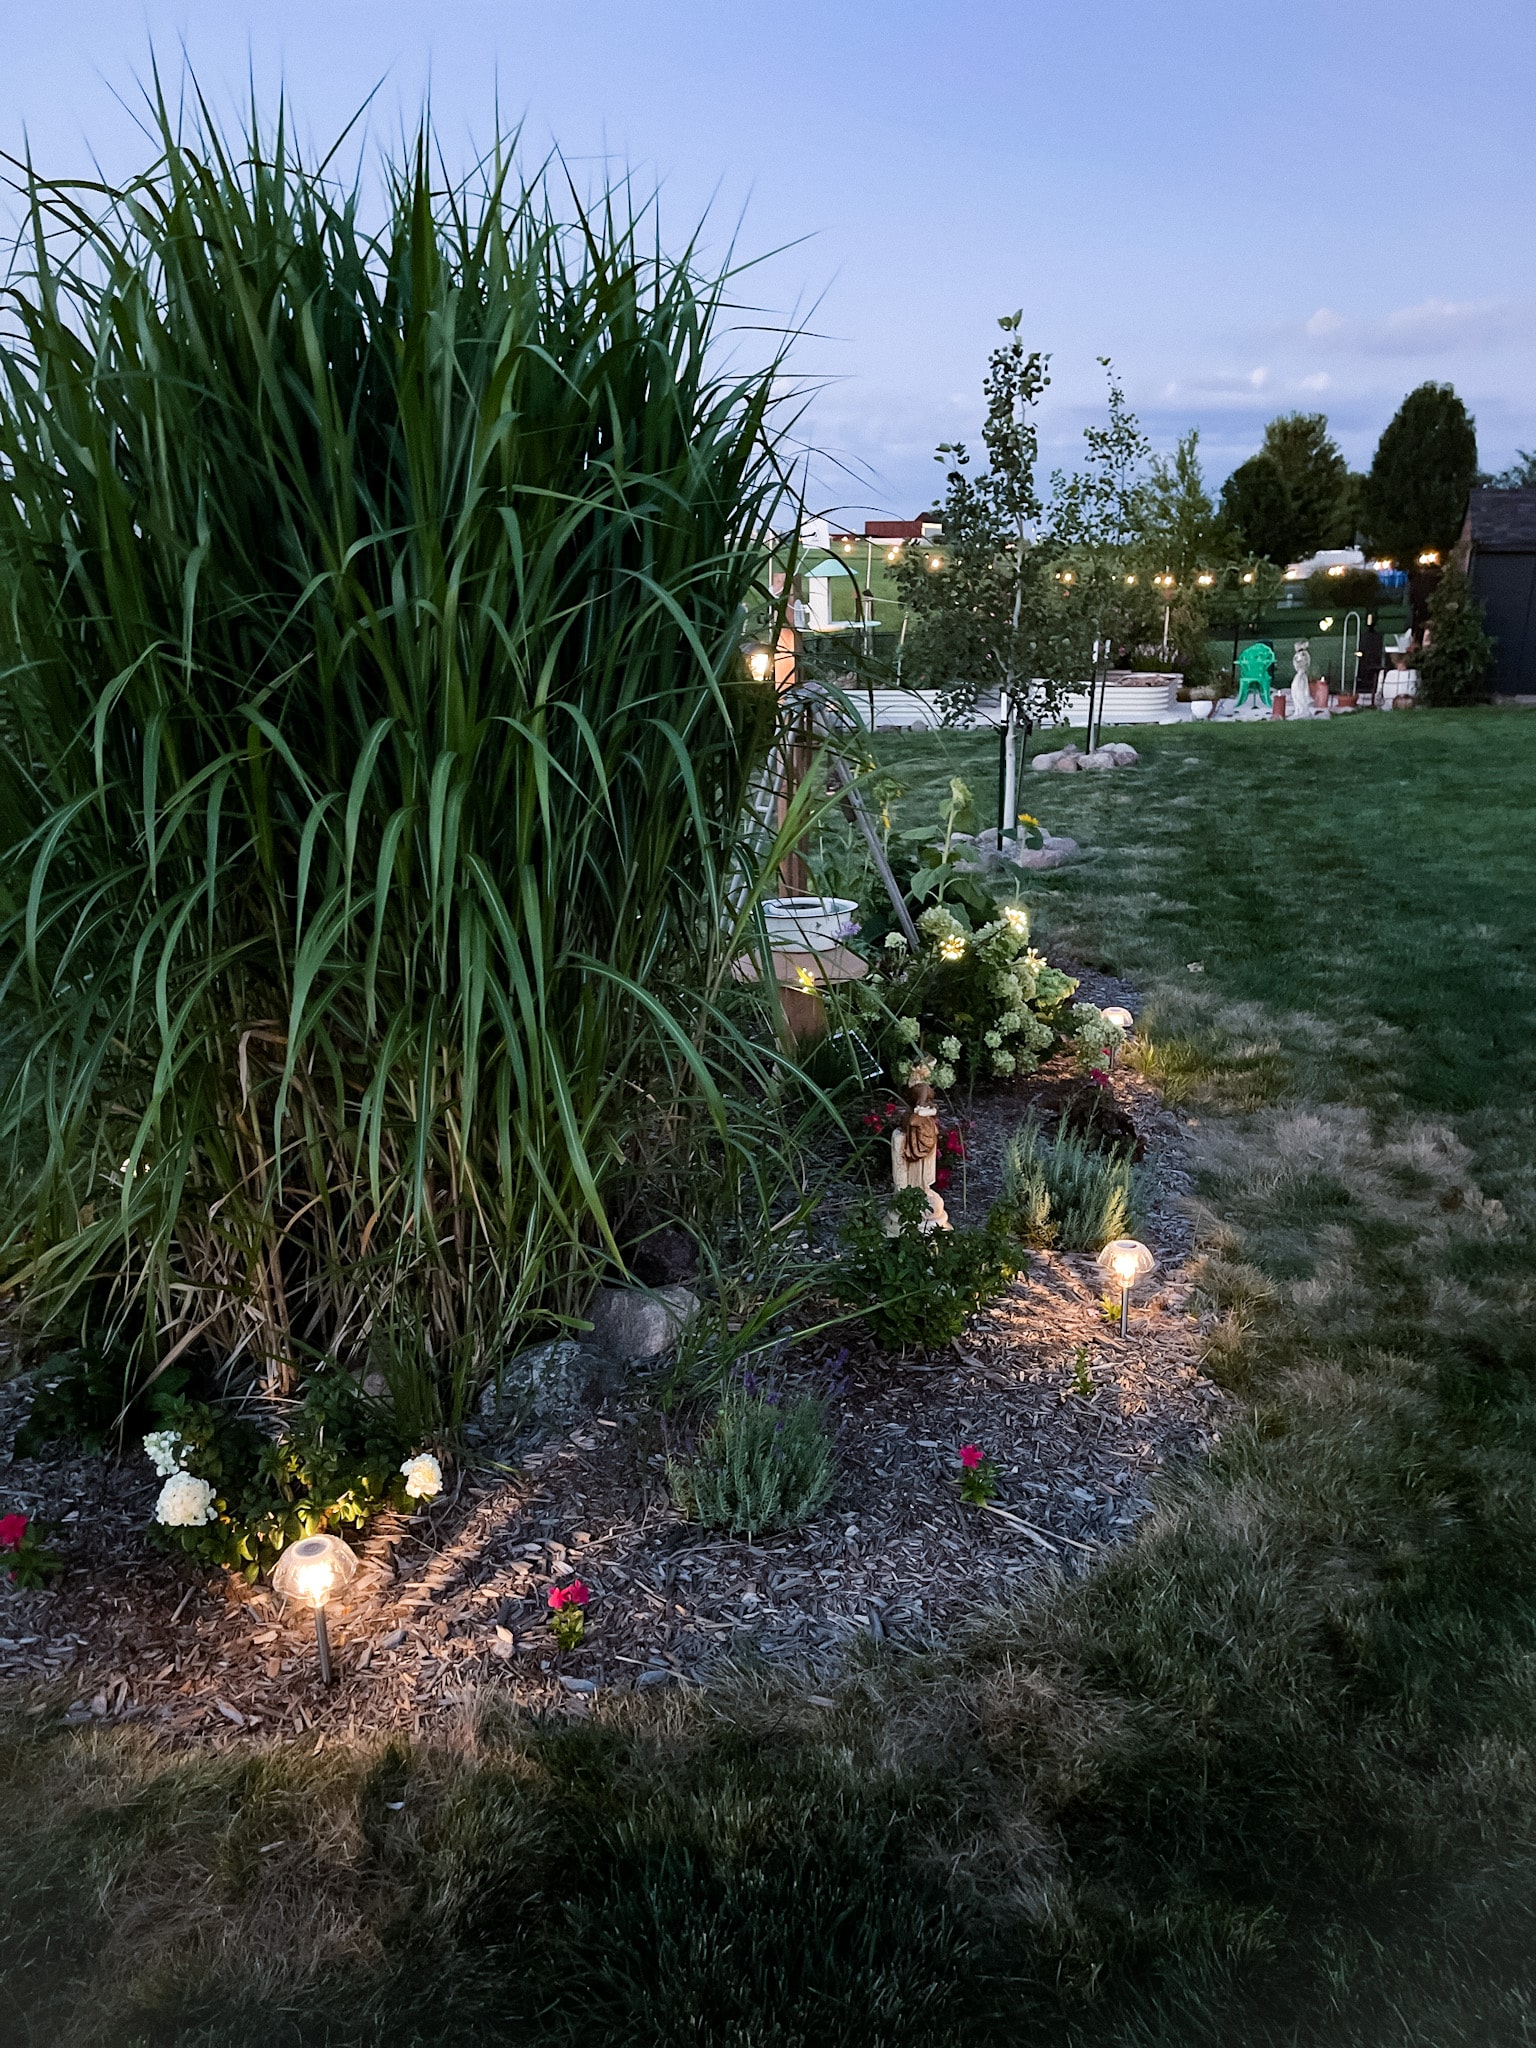
Adding string lights (or cafe lights) to our garden space has created such a special and magical feel in our yard. I love how it looks so much and want to share how we made our DIY outdoor string light poles, in case you’ve been thinking about making them too. Even better? We hung solar string lights since there isn’t an electrical outlet in that part of the yard—they work so well!
There are affiliate links included in this post. Purchasing through them does not cost you any extra money, but it helps my female-owned small business—thanks!!
Friends…our backyard is massive. Like, a silly amount of yard with minimal landscaping. Our plans include, hopfully, having a pool put in, and adding trees and much more landscaping—I want to get rid of a lot of the grass that’s back there now.
One thing I’ve wanted to do, in an attempt to add a bit of interest to the wide expanse of space, is to carve out little “rooms” or separate spaces throughout the yard. When we moved in, there was already a raised garden bed in the corner of the backyard. We’ve planted it for two years and enjoy spending time back there.
This year, I added a potting bench and gave our shed a mini makeover. Once I got done with that, I couldn’t get the idea adding of string lights out of my head. The only problem…we don’t have any electricity run to this part of the yard. Since we don’t have plans of putting that in any time soon, I had to find solar string lights that would work.
Solar string lights solved the problem of having lights that would work. I still, however, had to tackle how we would hang them!
I did what one does and headed straight to Pinterest to see if I could find any tutorials for outdoor string light poles that didn’t include having to build something…or having any special tools. I was able to find a tutorial that I then tweaked to best fit what I wanted to do in this space.
I wanted to do this project on a budget (always) and have it be relatively easy to accomplish. I was able to purchase four Dillen 7 Gallon Resin Nursery Pots for around $8 a piece and 4 pieces of plumbing conduit pipe for less than $10 each, so the big pieces for the project (other than the lights themselves) came in for less than $80—not bad!
I had the poles cut down to be 8 ft. each—The Home Depot is so amazing to do that for you! I actually had an employee cut down the metal pipe that day and PVC pipe! They will also cut wood for you…in case you don’t have the proper tools at home. If we had been putting the poles directly into the ground, or if I had chosen to spend more money on bigger pots, I would have left the poles at 10 ft. because it would be nice to have the lights hang a little higher. I’ll just call what we have now “cozy” instead of too low. They’re actually a fine height, but Jason is 6’5”, so everything is too short for him!
Securing the poles into the planter pot is definitely a two-person job. We purchased four bags of Quikrete Ready-to-Use Concrete Mix to set the poles in the planter pots. Since the pots have drainage holes at the bottom, we added a black industrial garbage bag to the bottom of each, to keep the Quikrete from running out the holes as it set up. That worked great and you can’t really even tell that there is anything there.
I didn’t snap any pictures of us securing the poles into the planter pots because we needed all the hands on deck! The process isn’t difficult, you will just need some muscle—thanks, Jason!
Layer garbage bag in bottom of nursery pot (keeps the Quikrete from running out the holes.
Find the center of the planter pot and get the pipe into position.
Fill about 1/3 of the planter pot with Quikrete, then add water, just until the Quikrete is wet and moves + mixes easily. You’ll need something strong to mix the Quikrete with. We used one of the ends of the pipe that had been cut off—it worked like a charm.
Add more Quikrete and water—continue process until the planter pot is 2/3 full.
Use a level to make sure the poles are standing up straight.
The Quikrete sets up really quickly, so you shouldn’t have to secure it to hold it in place, but if you need to, you can use a couple pieces of 2”x4”’s to keep it from moving.
Once the Quikrete had set up, Jason moved the string light poles out to the garden. We borrowed a 2 Wheel Dolly from our neighbor and it made the task so much easier! Not the exact one, but THIS one looks good! Then, we had to play around with the solar string lights to see what would be the best way to lay them out and install.
We mounted the lights to our shed, but it’s not centered with the garden boxes, so we had to pick a spot on the shed that was off-center to start the string of lights. I was nervous about how this would look at first, but I really don’t mind it now. We used an Everbilt 2.7 in. zinc-plated hitching ring, mounted to the back of the shed, to connect the lights to. I liked that the ring had movement, instead of being stationary, so that when the wind blows the lights, they’re less likely to snap. I painted the hitching ring black so it would look a little nicer, but you can tell from my picture that I need to do a touch-up on it, since installation was a little rough, apparently.
I used my fave spray paint Rustoleum American Accents 2X Ultra Cover Paint + Primer Ultra Matte for the hitching ring. It covers nicely and I love that it’s matte.
We used Gardner Bender 1” Rubber Insulated Metal Clamps and zip ties to secure the string lights onto the poles. 3 zip ties were used per clamp. One went through the holes on the clamp to pull it together and the other two went around the pole, both above and below the clamp. I like the idea that nothing is permanent on this project, in case I ever want to change out the lights or make adjustments.
***To secure, find the spot on the string lights that you want to attach, put it next to the pole, wrap the rubber insulated metal clamp around both, and then secure with the zip ties.***
We hung the lights about 1” from the top of the pole…just so you have an idea, but you really can choose whatever height you want.
We tried our best to get the swag of the lights to be even, but it’s not perfect, and that’s ok! The other part about the string light poles that I want to mention is that they are not sitting on level ground, by any means. I don’t mind the organic look of this space, but if you really need everything to be even and level, you will need to work on the ground to make that happen, especially if you’re putting these on a grassy spot.
For now, the light poles being unlevel is kind of quirky and endearing in the space, but we do have a back-up plan if we decide we just don’t love it.
To install, we removed the piece on the back of the solar panel that would be used for mounting it into the ground, since we were putting it on the string light poles. Jason used the zip ties threaded through a spot on the back of the solar panel to secure it to the pole. I then went through and zip tied the excess cord to the light pole as well.
Right now, the solar panels are at different heights, because of how the lights themselves are hung. I’m not sure I can handle that (thanks, OCD), so I may have to adjust one of them. For now, they don’t look too bad—remember, this space is a little quirky and organic—nothing is level or even!
***I wanted to mention that the zip ties we used are UV resistant, so their integrity won’t be compromised from being out in the sun. I wouldn’t want them to break and the string lights fall, so that’s another reason we reinforced all the connection points between the lights and the poles with extra zip ties. We trimmed all the ends, though, so you can’t even see them!***
The last step of this project is to fill the top 1/3 of the planter pot with crushed rock. You really could put whatever you want in the top of the pot, but my mom’s husband had rock that we could have for free, so that seemed like a no-brainer! I like that the rock will add extra weight to help keep the poles from blowing over (although I don’t really think that’s going to be an issue). I had originally wanted to add dirt and plant flowers in them or maybe an herb garden, but for now this will do just fine!
This Vigoro Bagged All-Purpose Decorative Stone looks a lot like what we used on the tops of the planter pots. I love the look of it and how it makes the string light poles look more polished!
***I had also thought of painting the poles black, but Jason likes the look of the metal, so I’m leaving it as is…for now… You might see an update to this blog post down the road, though, because black really would look so sharp!***
Solar String Lights (2 strands)
Dillen 7 Gallon Resin Nursery Pots (4)
Plumbing Conduit Pipe (4)
Quikrete Ready-to-Use Concrete Mix (4)
Everbilt 2.7 in. Zinc-Plated Hitching Ring (1)
Rustoleum American Accents 2X Ultra Cover Paint + Primer Ultra Matte
Gardner Bender 1” Rubber Insulated Metal Clamps (4)
HDX 8 in. UV Resist Zip Ties (20-pack) (1)
Hefty Strong Multipurpose 30 Gallon Large Trash Bags (4 bags)
Vigoro Bagged All-Purpose Decorative Stone
KARMAS PRODUCT Convertible Hand Truck Dual Purpose 2 Wheel Dolly (1) — Not totally necessary, but made moving the string light poles so much easier!
And now, the magic! I love the cozy feeling that the lights add to the garden space in our yard! We’ve had them up a few days now and we’ve decided that they come on around 8:25 PM right now and have still been on in the morning when we get up! Now, I know that won’t always be the case, especially as we get into shorter days here in the midwest, but I’ll take it for now! The string lights are also so much brighter than I thought they would be—it’s such a great thing when products exceed your expectations!
I still can’t believe that we finally did this project! I’ve been thinking about it forever and have had the supplies for at least two months! We did the whole project in one Saturday…so I know you can too! If you’ve been thinking about making outdoor string light poles, I totally encourage you to just do it!
If you decide to do this fun and satisfying DIY project, I would love to see it! Post it to your Instagram and tag me so I can see! You can find me on Instagram at @hilaryprall.


